How to Remove and Clean the AC Blower Wheel
Maintaining your HVAC system is essential for ensuring efficient performance and long-term reliability. One critical yet often overlooked component is the blower wheel, responsible for circulating air throughout your home. Over time, it can accumulate dust, dirt, and debris, which can hinder airflow, strain the motor, and reduce system efficiency. Regular cleaning of the blower wheel helps maintain optimal airflow, improves energy efficiency, and enhances indoor air quality. In this guide, we’ll provide a clear, step-by-step process for safely removing and cleaning the AC blower wheel to keep your HVAC system running at its best.
How to Remove the AC Blower Wheel
Here’s how to safely remove the AC blower wheel in a few clear steps.
Step 1: Turn Off the Power to the HVAC System
Always start with safety. Working on an energized HVAC system can be dangerous. Turn off the power to the unit at the circuit breaker to completely disconnect electricity. Don’t rely on just turning off the thermostat—go to your electrical panel and switch off the breaker labeled for your air handler or furnace.
After cutting the power, test the system by adjusting the thermostat to verify it does not respond. This confirms that no power is running to the system, eliminating the risk of electric shock.
Step 2: Access the Blower Assembly
The blower wheel is housed within the blower assembly, typically found inside the air handler or furnace.
Remove the Access Panel
Locate the front panel on your furnace or air handler. Using a screwdriver or nut driver, remove the screws or fasteners securing it. Keep the screws in a safe place, like a magnetic tray or container, to avoid misplacing them.
Carefully lift or slide the panel off to expose the interior components. Use a flashlight or work light if needed to improve visibility inside the unit.
Locate the Blower Assembly
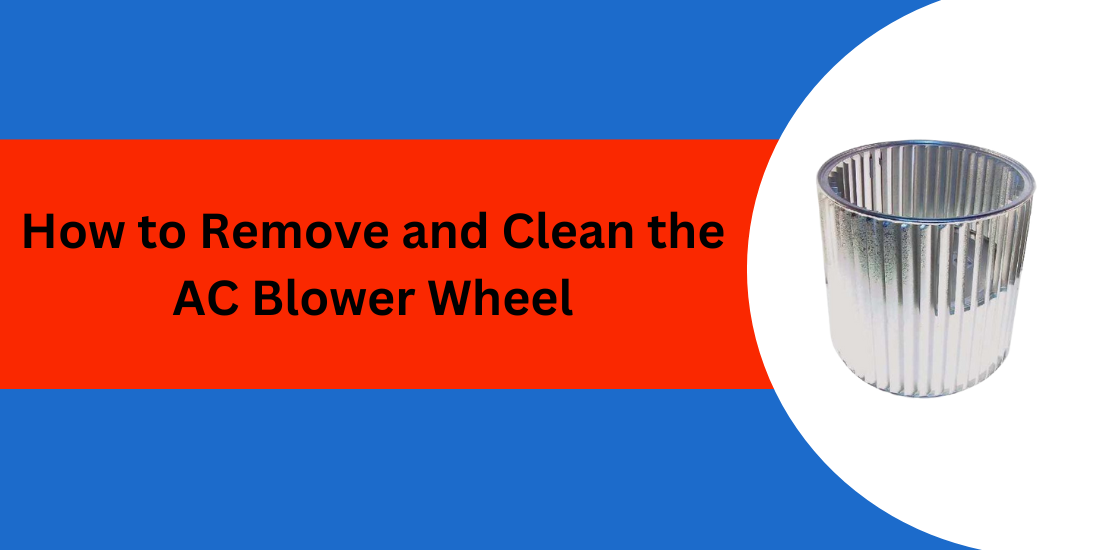
Inside the unit, you’ll find a cylindrical fan housed in a metal casing—this is the blower wheel, attached to the motor shaft. The entire blower assembly is typically mounted on rails or brackets for structural support and ease of removal.
Inspect the Area
Take a moment to examine the blower and surrounding components. Look for signs of dirt buildup, corrosion, or loose wiring. Use a flashlight to ensure you have a clear view of the setup before proceeding.
Step 3: Disconnect the Blower Assembly
Before you can remove the blower wheel, you must extract the entire blower assembly from the unit. This part contains the blower motor, the mounting brackets, and the wheel itself.
Disconnect Wiring
Identify the wires connected to the blower motor. These are usually color-coded and may connect via plug-in terminals or wire nuts. Gently disconnect them, taking care not to pull on the wires themselves. Use masking tape and a marker to label each wire, or take a clear photo for reference to ensure proper reconnection during reassembly.
Remove Mounting Screws or Bolts
Locate the screws or bolts securing the blower assembly to the furnace frame or air handler. These are often found at the bottom rails or side brackets. Use a socket wrench or nut driver to remove them. Some units may use multiple fasteners, so check carefully to ensure all are removed.
Slide out the Blower Assembly
Once all wires and fasteners are removed, gently slide the entire blower assembly out of the unit. Be cautious—it may be heavy or awkward to maneuver, especially in tight or vertical installations. Avoid dragging it across any sharp edges or delicate wiring inside the cabinet.
Pro Tip: If your system is in a cramped space or overhead, consider getting help to prevent injury or accidental damage to the motor or wheel.
Step 4: Remove the Blower Wheel from the Motor
With the blower assembly placed on a stable work surface, you’re now ready to detach the blower wheel.
Locate the Set Screw
Find the hub at the center of the blower wheel where it connects to the motor shaft. There should be a small set screw securing the wheel to the shaft. Depending on your model, you’ll need an Allen wrench or a small flat-head screwdriver to access it.
Loosen the Set Screw
Turn the screw counterclockwise just enough to release the grip on the shaft. Do not fully remove the screw unless necessary, as it can be easy to lose. A couple of full turns should suffice.
Remove the Blower Wheel
Carefully pull the blower wheel away from the motor shaft. If the wheel is stuck—often due to age, corrosion, or dirt buildup—apply a small amount of penetrating oil to the hub. Allow it to sit for 10–15 minutes to loosen the bond. Once loosened, gently wiggle or rotate the wheel to ease it off.
Avoid using excessive force, prying tools, or striking the assembly. Blower wheel blades are delicate and can easily bend, and motor shafts can be damaged if mishandled.
Inspect the Blower Wheel
Before proceeding to clean or replace it, closely inspect the wheel for cracks, bent fins, or excessive wear. If the wheel is damaged, it’s better to replace it than to reinstall a compromised part.
How to Clean the AC Blower Wheel
Once the blower wheel has been safely removed from the HVAC system, the next step is to clean it thoroughly. Follow these steps to clean the blower wheel properly and inspect other nearby components while you’re at it.
Step 1: Inspect the Blower Wheel
Before cleaning, conduct a careful inspection of the blower wheel. Look for any visible damage such as:
Cracked blades
Bent or warped fins
Rust or corrosion around the hub
Damaged blower wheels can create imbalance during operation, leading to vibrations, noise, and increased wear on the motor bearings. If you notice any significant defects, it's best to replace the wheel rather than attempt to clean and reinstall it. Cleaning a damaged component won’t restore performance and may cause more harm than good.
Step 2: Remove Loose Debris
Next, you’ll want to remove any loose dust, dirt, pet hair, or debris that has collected on the blower wheel. This step will make the cleaning process more effective and prevent dirt from turning into stubborn grime.
Use a shop vacuum with a soft brush attachment to gently remove debris from the blower wheel. Ensure you vacuum between the fins and around the motor shaft, where dust tends to accumulate.
Be cautious not to bend the fins. Even slight damage to the blades can cause an imbalance, leading to vibrations or noise during operation. Vacuuming first will also help reduce the mess when you apply a cleaning solution in the next step.
By removing as much debris as possible, you’re helping ensure that the remaining cleaning process focuses on dirt buildup, not loose particles.
Step 3: Clean with a Mild Detergent Solution
To remove stubborn dirt, oil, or sticky grime:
Prepare a cleaning solution by mixing a few drops of mild dish soap or coil cleaner in a bucket of warm water.
Apply the solution using a damp sponge, microfiber cloth, or soft brush. Avoid using metal brushes or abrasive scrubbers that could scratch or deform the metal blades.
Clean each blade thoroughly, taking your time to reach into crevices and remove any buildup.
Rinse thoroughly by wiping the wheel down with a clean, damp cloth to remove any soap or cleaner residue. Do not immerse the wheel in water, especially if it's attached to or near electrical components.
Step 4: Dry the Blower Wheel
After cleaning, it’s important to let the blower wheel dry completely before reinstalling it:
Place it in a well-ventilated area or use a clean towel to blot excess moisture.
Allow it to air dry for at least 30 minutes or until no moisture remains on or inside the hub and fins.
Any moisture left behind can lead to mold, mildew, or electrical shorting once the unit is powered back on.
Step 5: Clean the Surrounding Components
While the blower wheel is removed, take advantage of the access to clean other HVAC components that are often neglected.
Blower motor: Wipe down the motor housing with a dry, lint-free cloth. Never apply liquids directly to the motor.
Evaporator coil: If visible and accessible, gently vacuum the surface of the coil using a soft brush attachment. This improves cooling efficiency and reduces the risk of coil icing.
Drain pan: Check for standing water, algae, or sludge buildup. Clean it out using a disinfecting solution or white vinegar to ensure proper drainage and reduce odors.
Regular maintenance, including cleaning the blower wheel, is key to ensuring your HVAC system performs efficiently and lasts longer. By following the steps outlined in this guide, you can improve airflow, enhance energy efficiency, and maintain better indoor air quality. Always inspect the blower wheel for damage, and if you’re uncomfortable performing these tasks or find significant wear, consult a professional HVAC technician. Routine upkeep not only helps avoid costly repairs but also keeps your system running smoothly, providing a more comfortable and healthier living environment.
Written by Allen Rode for PartsHnC, your trusted source for high-quality HVAC parts, including water heater components, air conditioner parts, and heat pump solutions.


Quick fix, noticeable performance boost!
ReplyDelete